Imagine you’re about to download a file from the internet. How do you know it’s safe? How do you know it’s really from who it claims to be and that nobody has tampered with it along the way? This is where code signing comes in. Code signing is like a digital guarantee, assuring you about the origin and integrity of the software.
With the help of our PKCS11 Wrapper, which is a software library that interacts with Hardware Security Modules (HSMs), smart cards, or any key vaults, you can improve the efficiency of the code signing process for your organization. Along with PKCS#11 Wrapper, we will use the JSign for signing, verifying, encrypting, and decrypting executable files, installer packages, and scripts.
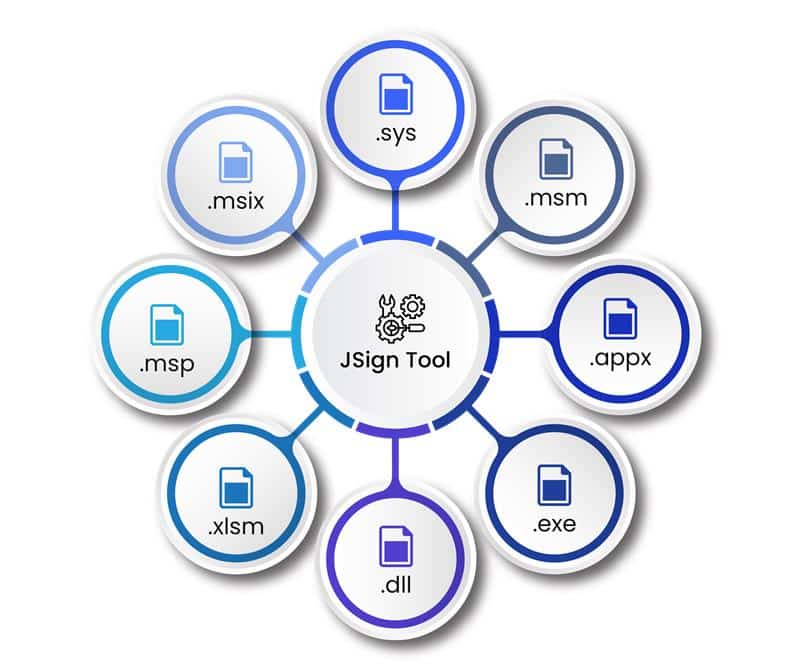
What is JSign?
JSign is a free command-line tool available for Linux, Windows, and MacOS. It allows for platform-independent signing of a wide range of artifacts, such as Windows executables, software installers, scripts, and many more.
Configuration of PKCS#11 Wrapper on Ubuntu
Prerequisites
Before we look into the process of signing using JSign Tool and our PKCS11 Wrapper in Linux (Ubuntu) machine, ensure the following are ready:
- Ubuntu Version: Ubuntu version 22.04 or later (tested environment is Ubuntu 24.02)
- Dependencies: Install liblog4cxx12 and curl.
To install the dependencies, run the following commands
- sudo apt-get install curl
- sudo apt-get install liblog4cxx12
Installing EC’s PKCS#11 Wrapper
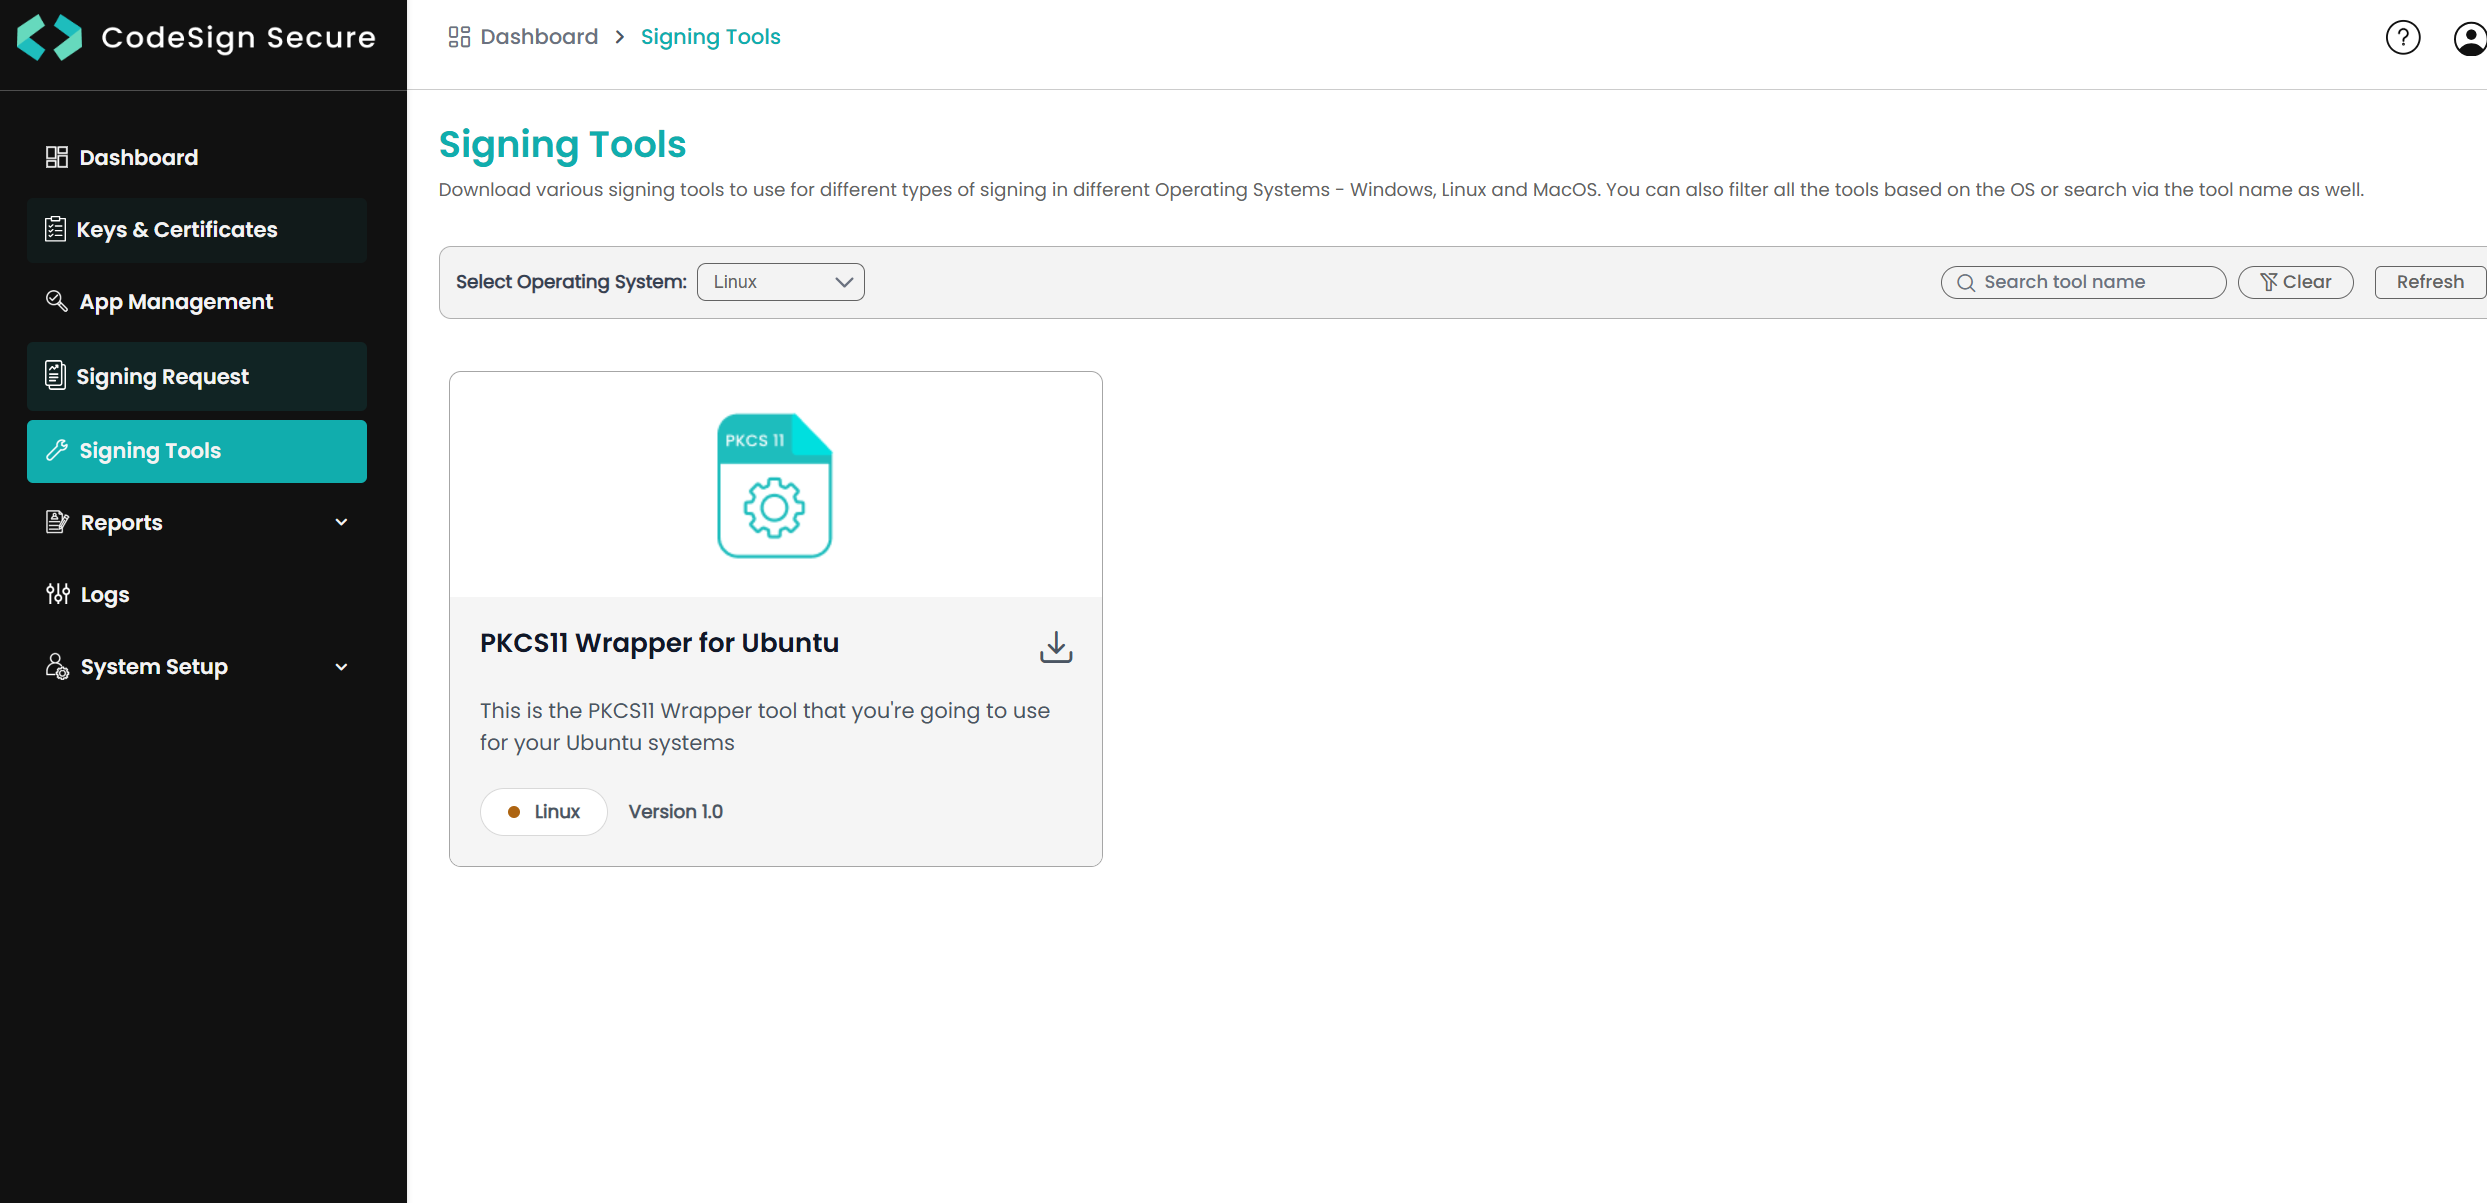
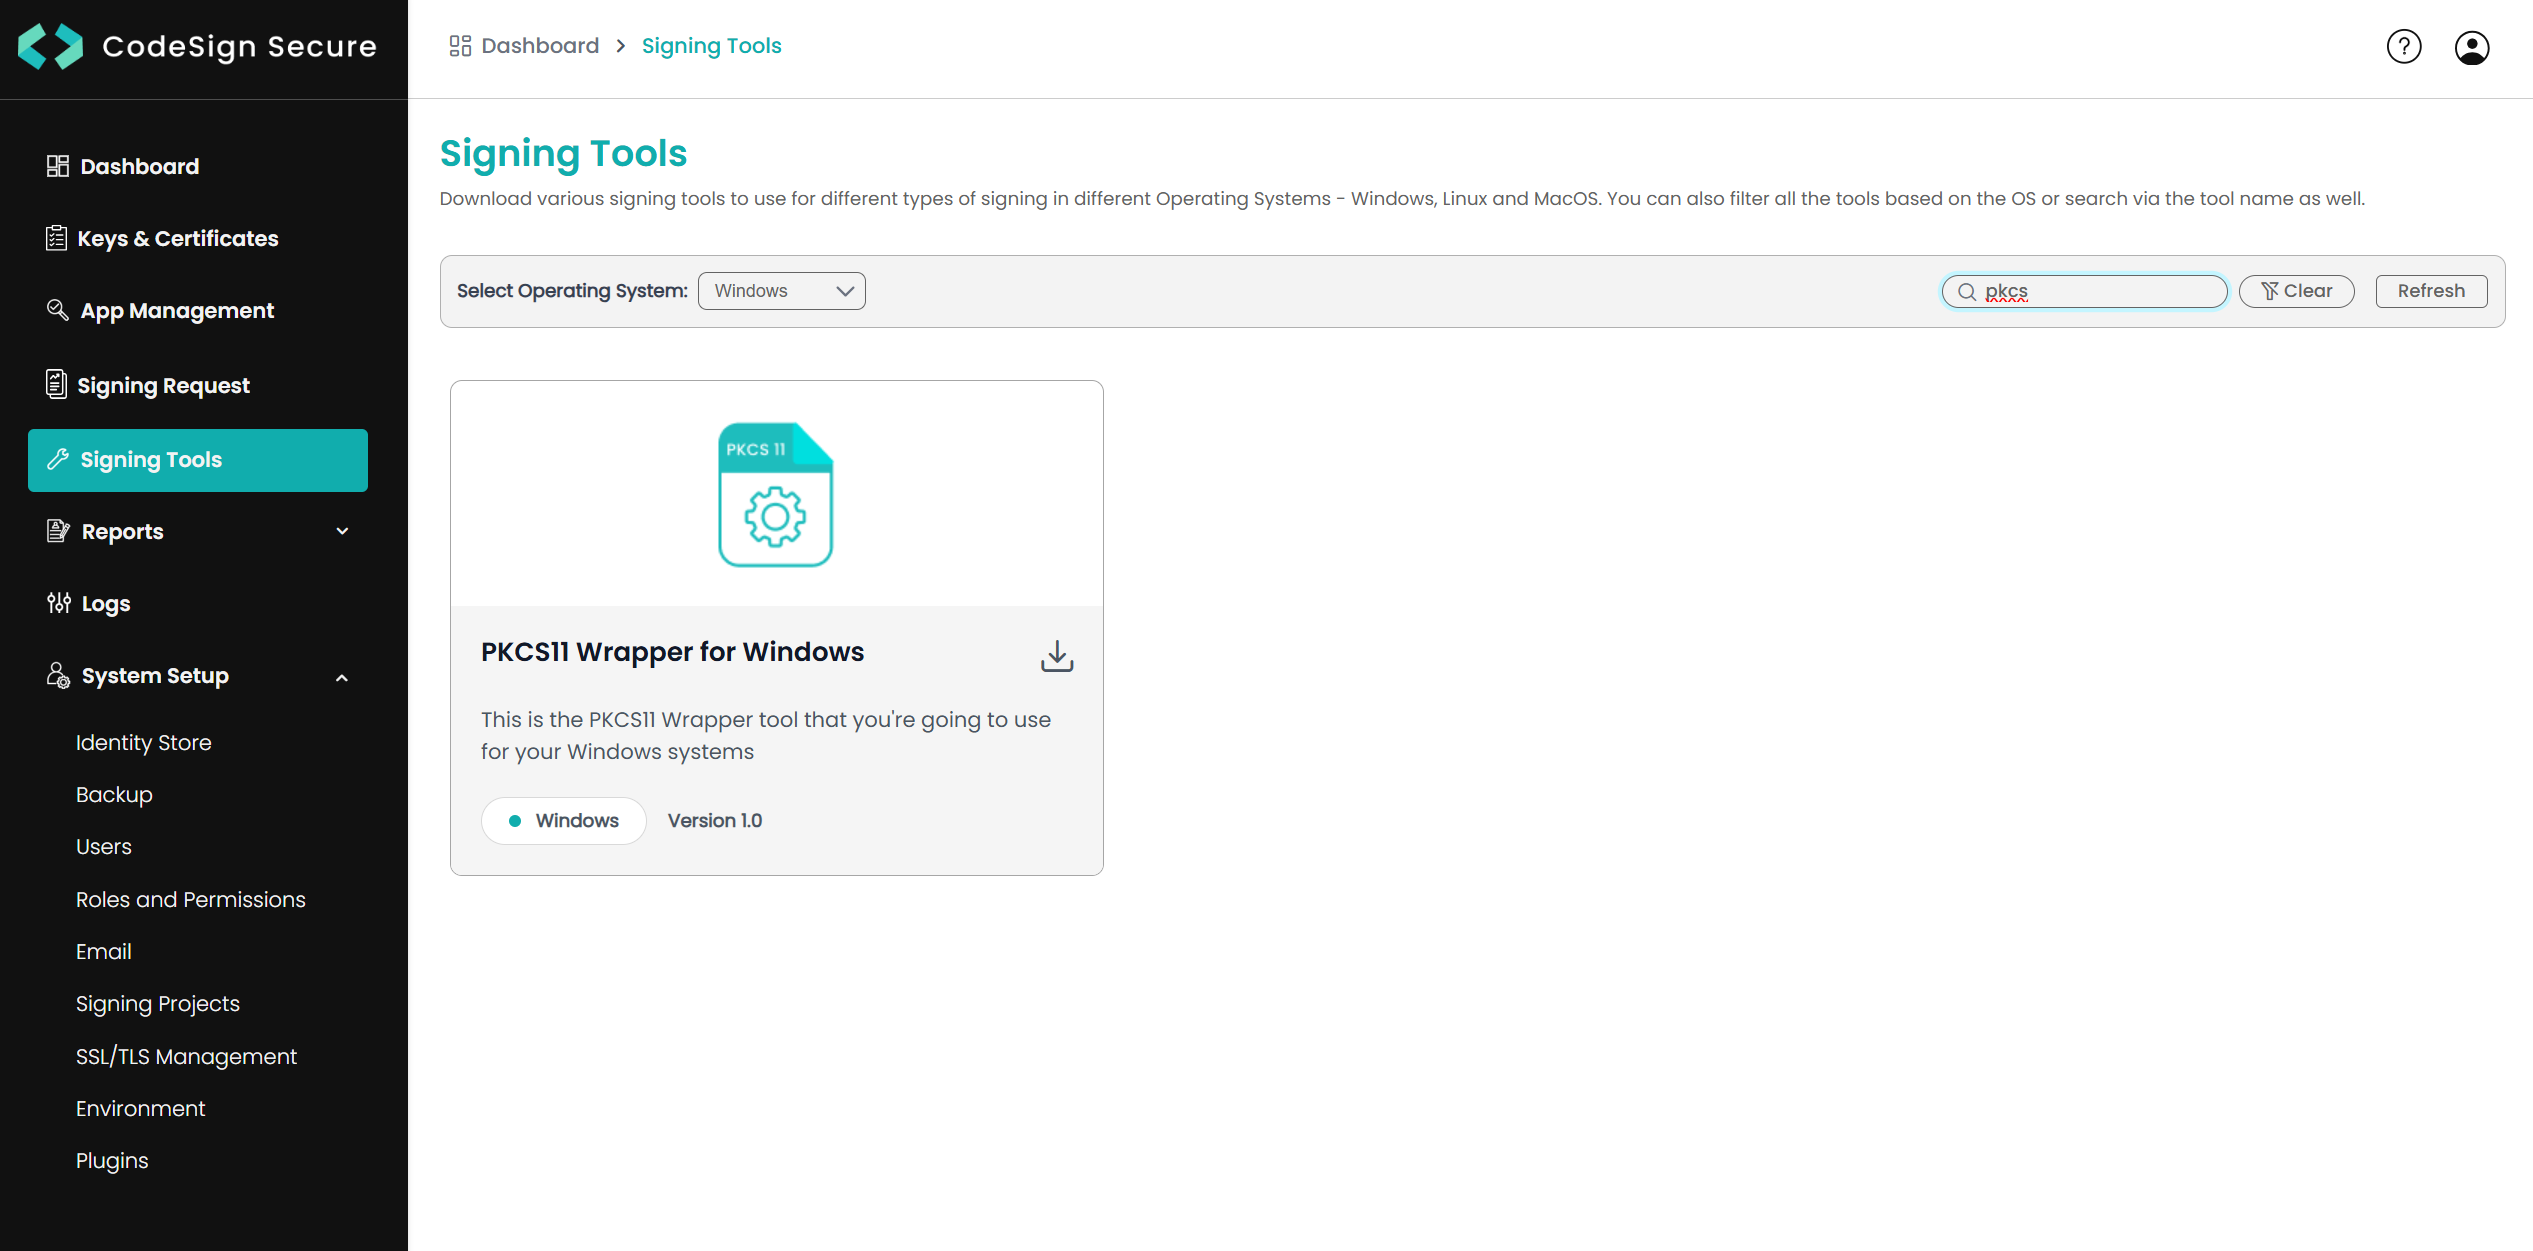
Step 1: Go to EC CodeSign Secure’s v3.02’s Signing Tools section and download the PKCS#11 Wrapper for Ubuntu.
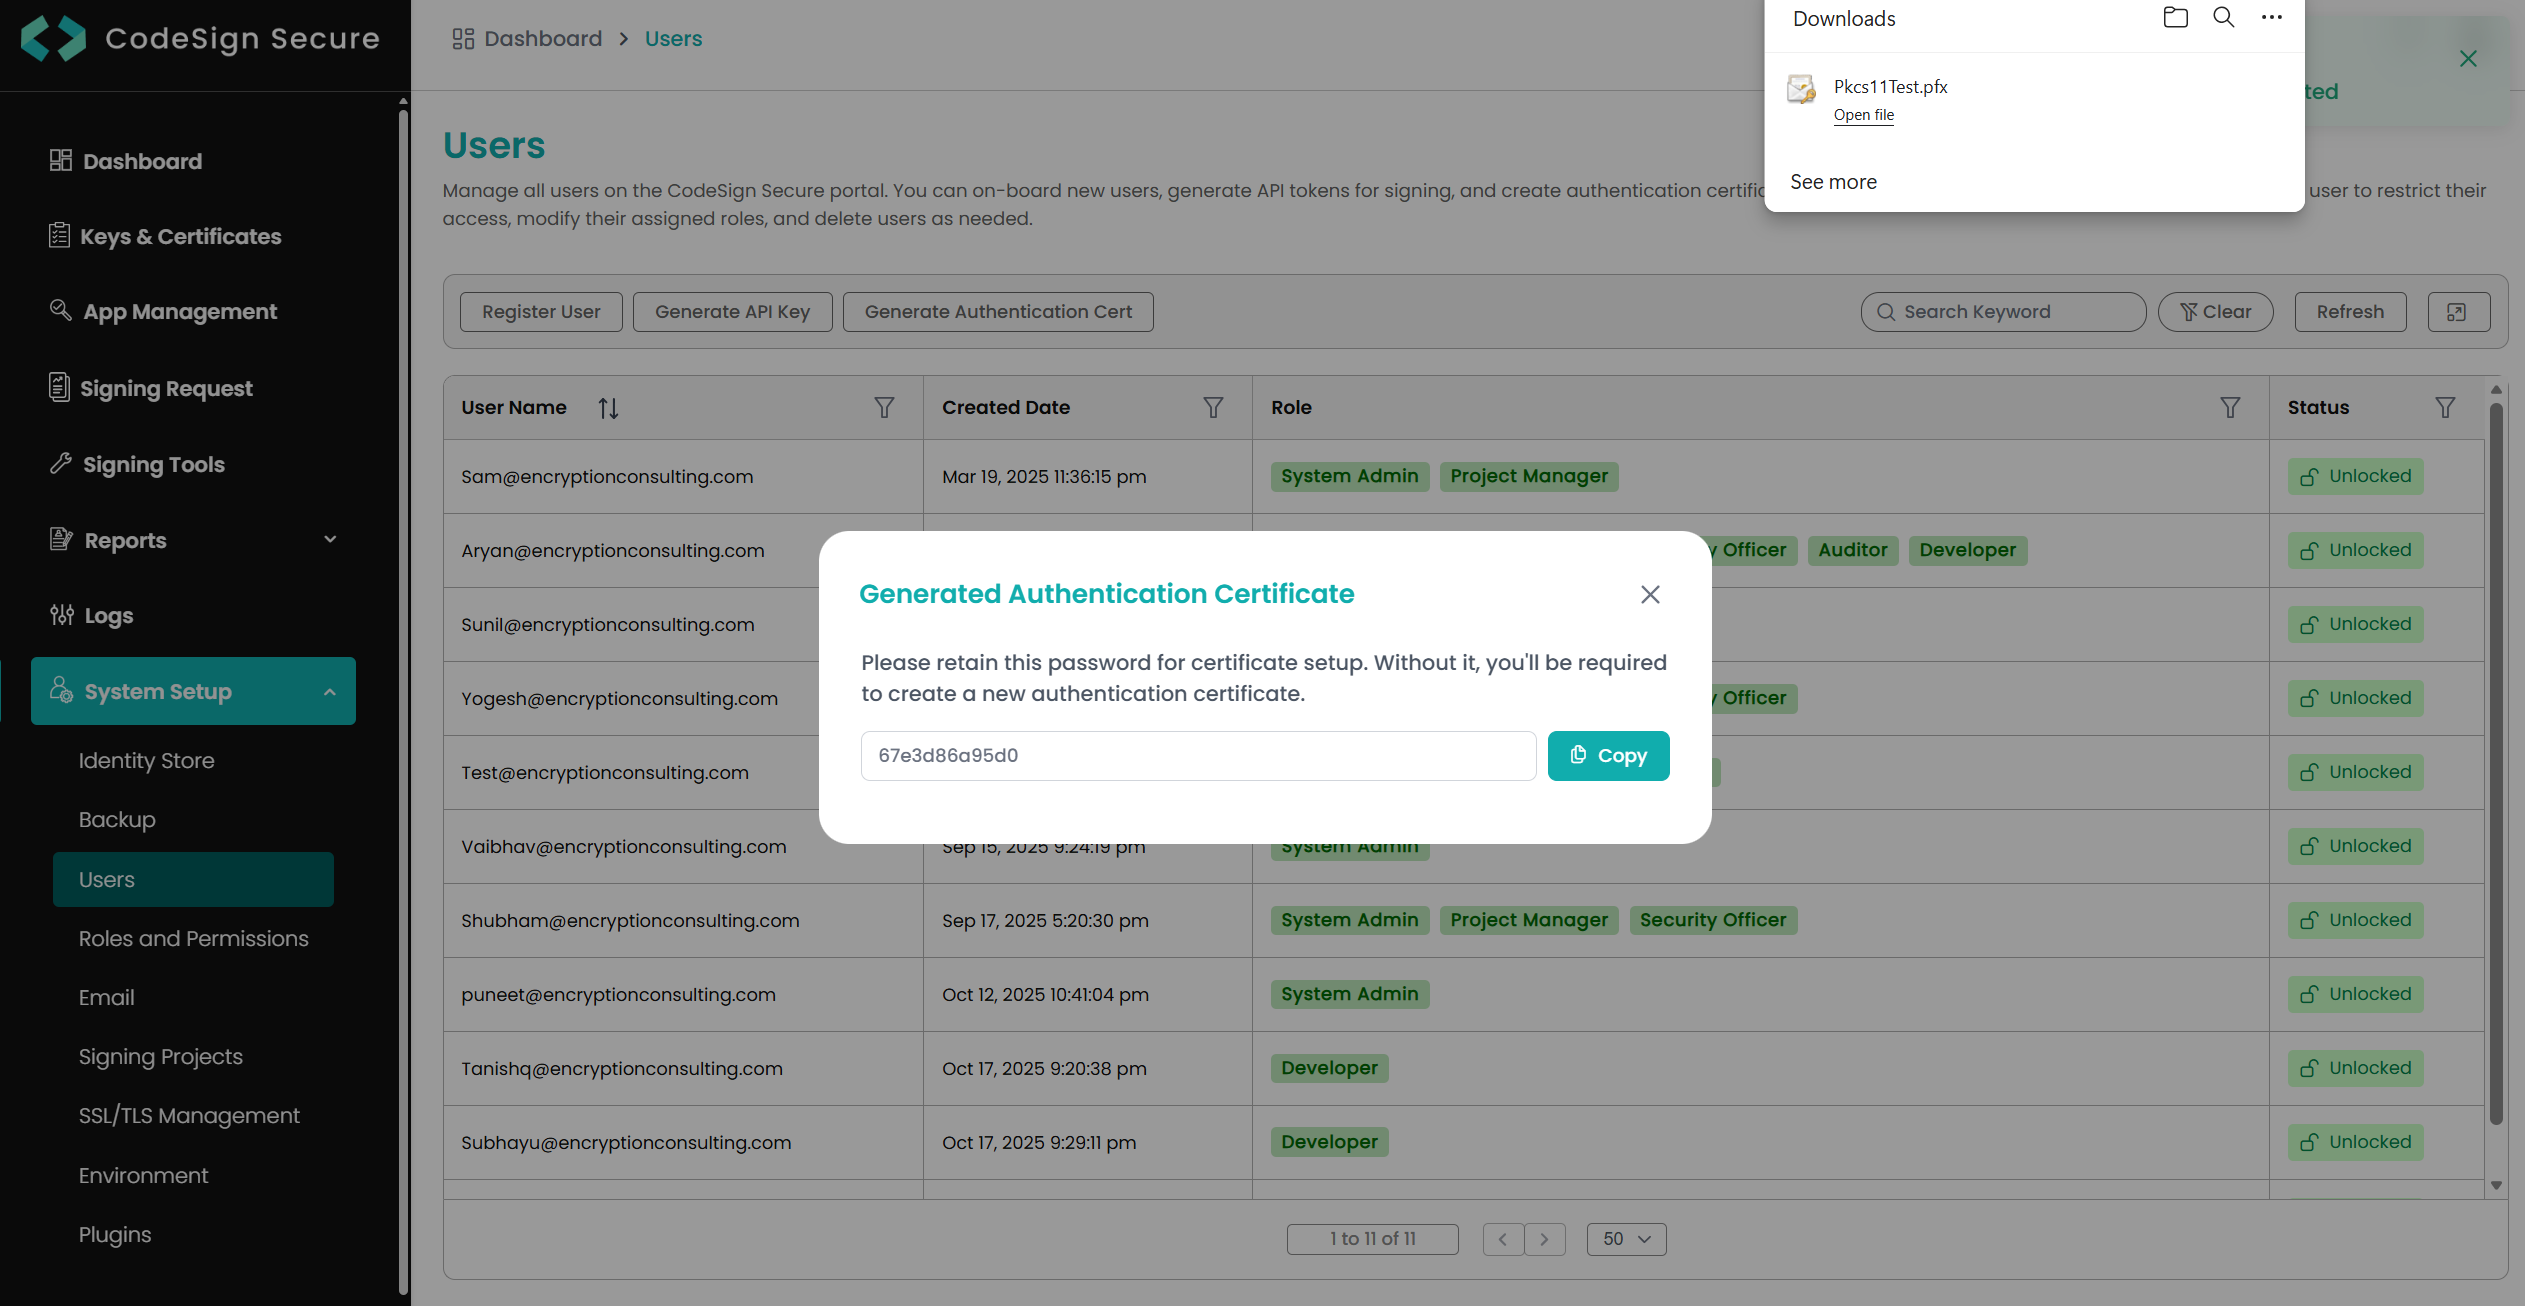
Step 2: After that, generate a P12 Authentication certificate from the System Setup > User > Generate Authentication Certificate dropdown.
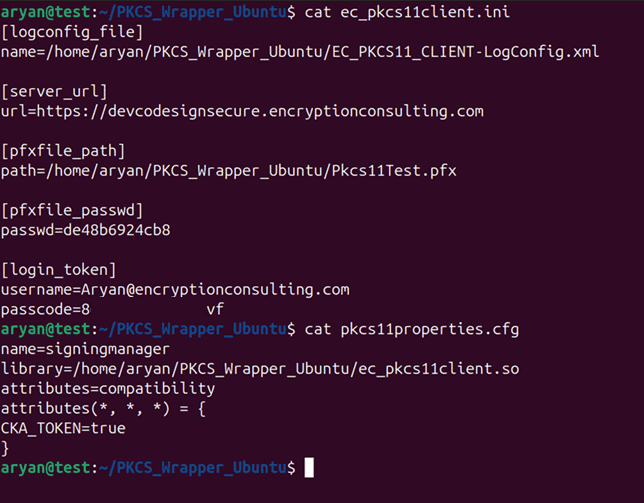
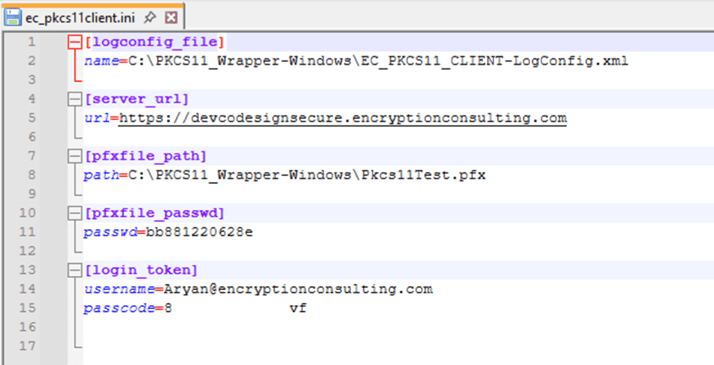
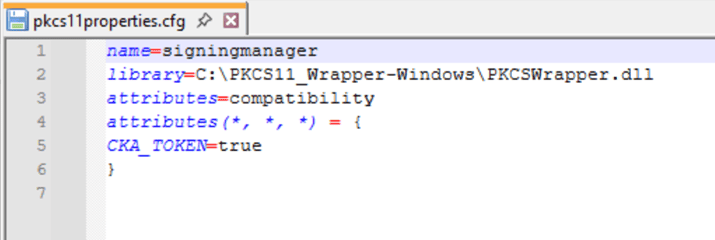
Step 3: Go to your Ubuntu client system and edit the configuration files (ec_PKCS#11client.ini and PKCS#11properties.cfg) downloaded in the PKCS#11 Wrapper.
Installing JSign Tool
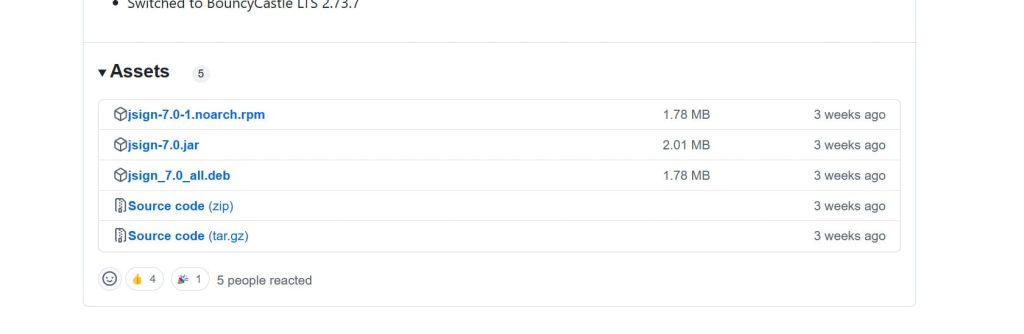
Step 1: Install the latest version of JSign Tool (DEB package) using this link.

Step 2: Install the Debian package
sudo dpkg --install jsign_7.0_all.deb

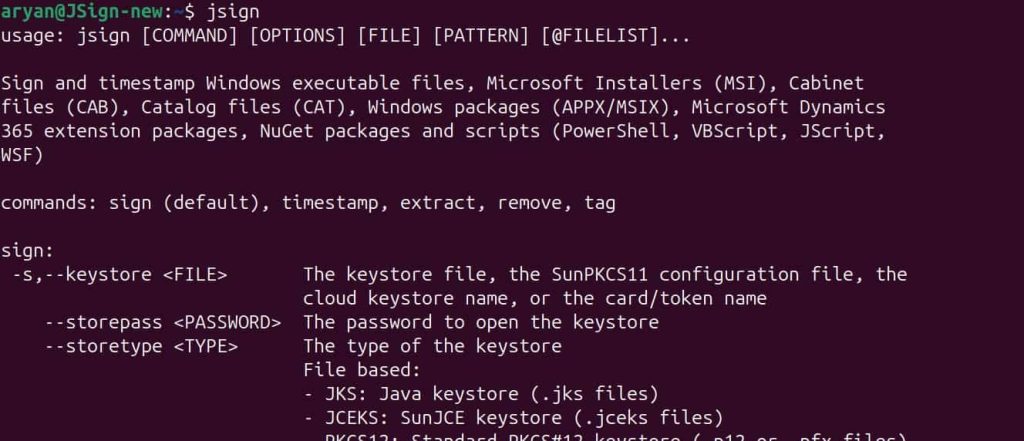
Step 3: Check whether JSign has been properly installed or not
jsign
Install Java on your Ubuntu machine.
You will also need to install Java (Java 17 or lower) on your Ubuntu machine for JSign to work with our PKCS11 Wrapper.
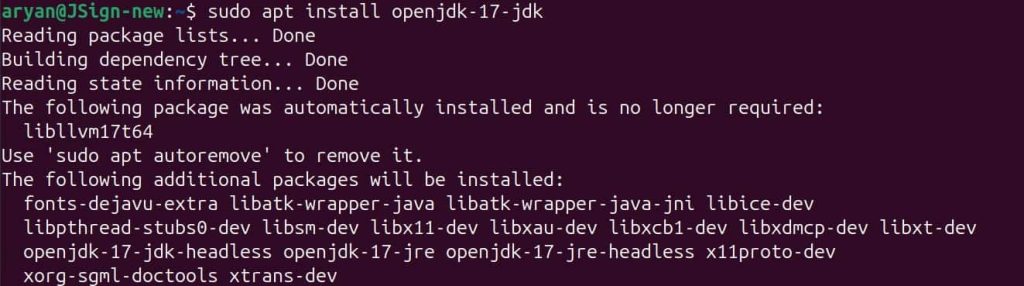
Step 1: Install Java 17 on your Ubuntu machine.
sudo apt install openjdk-17-jdk
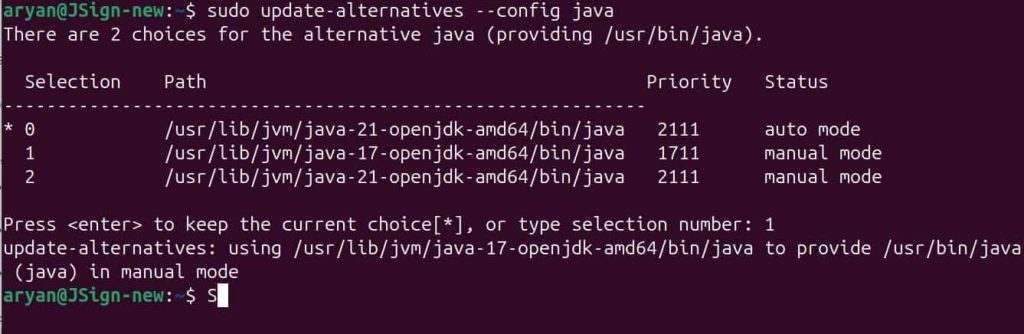
Step 2: Set Java 17 as the active version
sudo update-alternatives --config java
Step 3: Check whether Java has been installed properly or not
java -version

Signing
Step 1: Change the working directory of the terminal to that folder which contains your “ec_pkcs11client.ini” and “pkcs11properties.cfg” files.

Step 2: Run the signing command from this directory.
<Path of JSign tool> --keystore <Path of pkcs11properties.cfg> --storepass NONE --storetype PKCS11 --alias <Key alias of the signing certificate> <Path of the file to be signed>
A sample command is provided below:
jsign --keystore pkcs11properties.cfg --storepass NONE --storetype PKCS11 --alias gpg2 build_project.ps1

Configuration of PKCS#11 Wrapper on Windows
Prerequisites
Before we look into the process of using JSign Tool and our PKCS11 Wrapper on a Windows machine, ensure the following are ready:
- Windows Version: Windows 11 (tested environment is Windows 11 23H2)
Installing EC’s PKCS#11 Wrapper
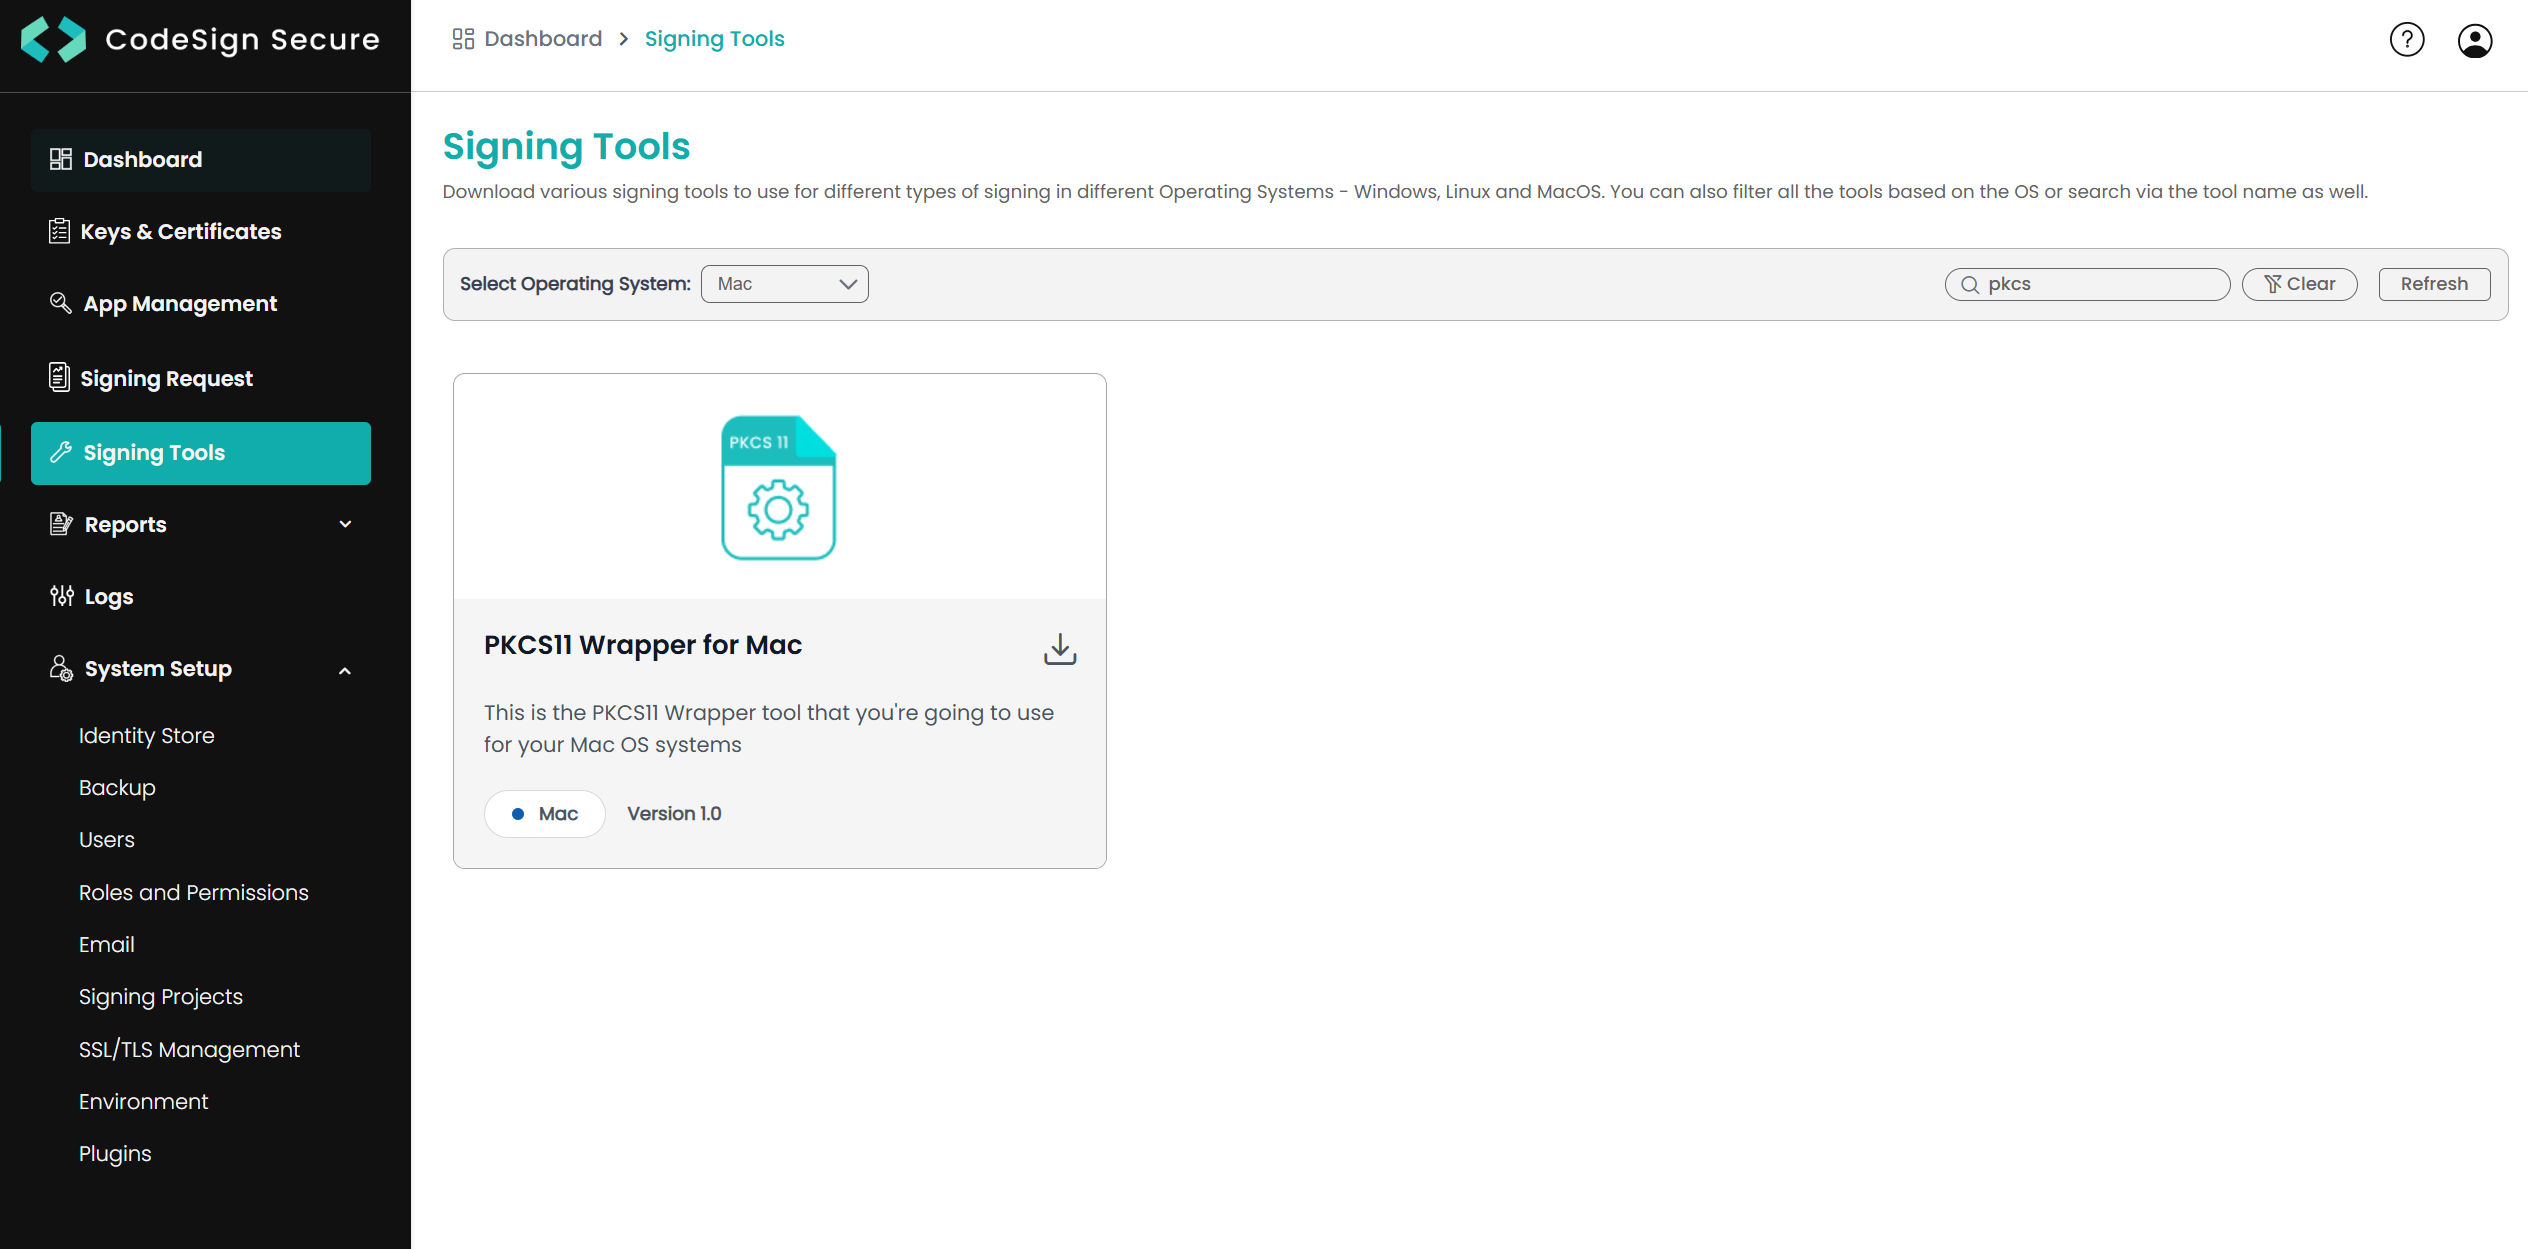
Step 1: Go to EC CodeSign Secure’s v3.02’s Signing Tools section and download the PKCS#11 Wrapper for Windows.
Step 2: After that, generate a P12 Authentication certificate from the System Setup > User > Generate Authentication Certificate dropdown.
Step 3: Go to your Windows client system and edit the configuration files (ec_PKCS#11client.ini and PKCS#11properties.cfg) downloaded in the PKCS#11 Wrapper.
Install Java on your Windows machine.
You will also need to install Java (Java 22 or lower) on your Windows machine for JSign to work with our PKCS11 Wrapper.
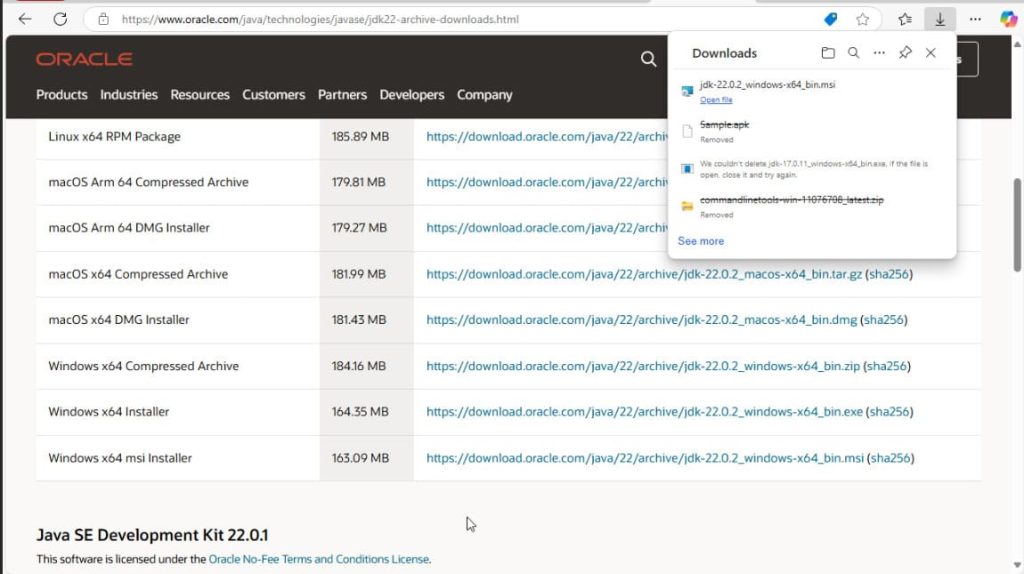
Step 1: Install Java 22 (.exe installer) on your Windows machine from Oracle’s official site.
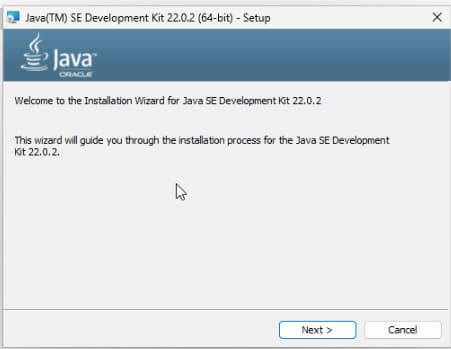
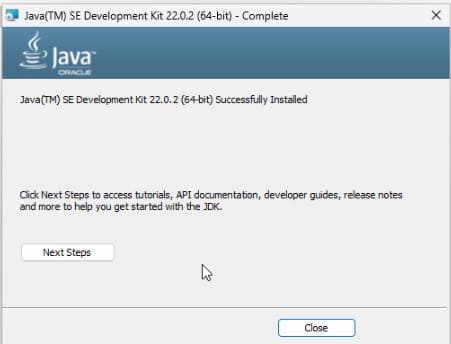
Step 2: Follow the instructions to install Java 22 on your machine.
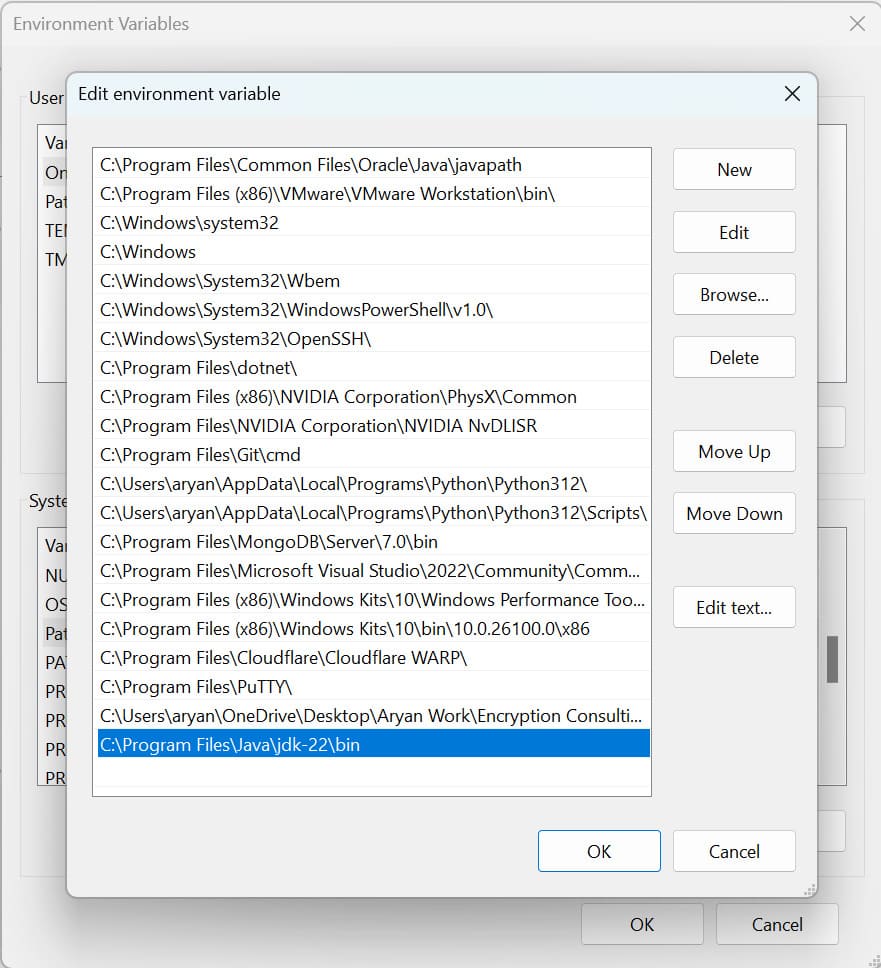
Step 3: Set Java 22 as the active version by storing the bin path in the PATH variable.
Installing JSign Tool
Step 1: Install the latest version of JSign Tool (JAR package) using this link.
Step 2: Check whether JSign has been properly installed or not
java -jar <Path of JSign Jar Package>
Signing
Step 1: Change the working directory of the terminal to the folder that contains your “ec_pkcs11client.ini” and “pkcs11properties.cfg” files.
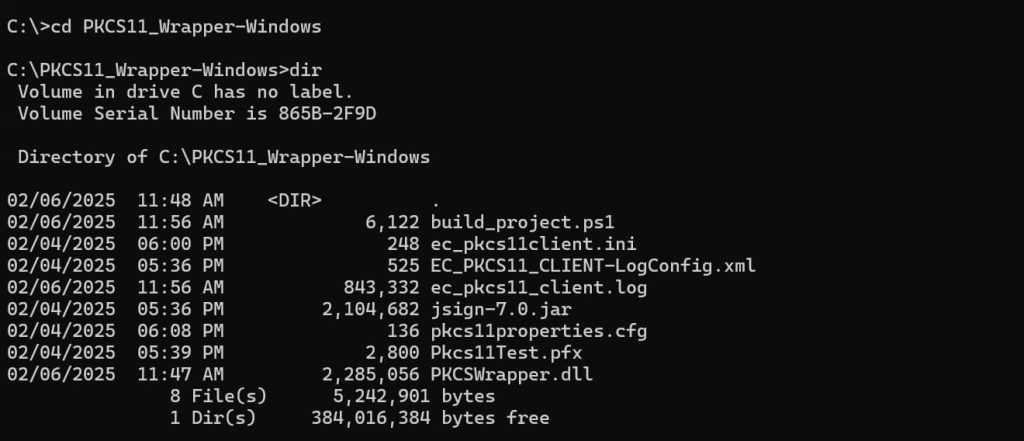
Step 2: Run the signing command from this directory.
java -jar <Path of JSign jar file> --keystore <Path of pkcs11properties.cfg> --storepass NONE --storetype PKCS11 --alias <Key alias of the signing certificate> <Path of file to be signed>
A sample command is provided below:
java -jar jsign-7.0.jar --keystore pkcs11properties.cfg --storepass NONE --storetype PKCS11 --alias gpg2 build_project.ps1

Configuration of PKCS#11 Wrapper on MacOS
Prerequisites
Before we look into the process of using JSign Tool and our PKCS11 Wrapper on a MacOS machine, ensure the following are ready:
- MacOS Version: Sequoia 15.2 (tested environment Sequoia 15.2)
- Dependencies: Install liblog4cxx and curl.
To install the dependencies, run the following commands
- brew install curl
- brew install log4cxx
Installing EC’s PKCS#11 Wrapper
Step 1: Go to EC CodeSign Secure’s v3.02’s Signing Tools section and download the PKCS#11 Wrapper for MacOS.
Step 2: After that, generate a P12 Authentication certificate from the System Setup > User > Generate Authentication Certificate dropdown.
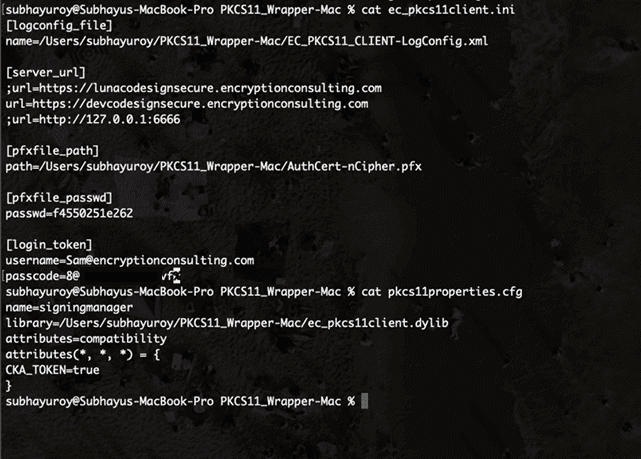
Step 3: Go to your MacOS client system and edit the configuration files (ec_PKCS#11client.ini and PKCS#11properties.cfg) downloaded in the PKCS11 Wrapper.
Install Java on your MacOS machine
You will also need to install Java (Java 17 or lower) on your MacOS machine for JSign to work with our PKCS11 Wrapper.
Step 1: Install Java 17 on your MacOS machine.
brew install openjdk@17
Step 2: Find the location where Java 17 is installed on your machine
brew info to openjdk@17
Step 3: Set Java 17 as the active version.
For Zsh: nano ~/.zshrc
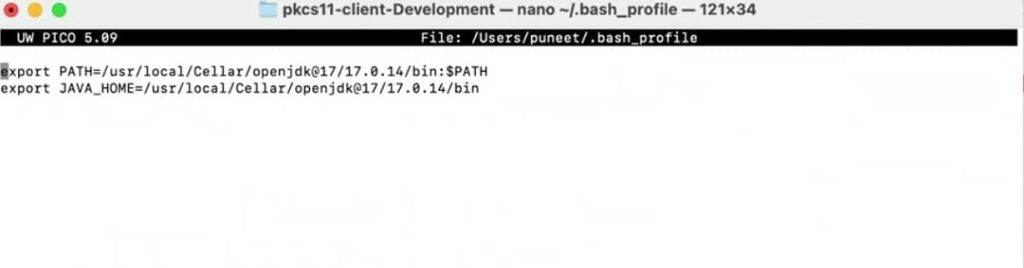
For Bash: nano ~/.bash_profile
After running the above command, add these lines:
export PATH=<Path of Java 17 bin folder>:$PATH
export JAVA_HOME=<Path of Java 17 bin folder>
Step 4: Reload the environment variables
For Zsh: source ~/.zshrc
For Bash: source ~/.bash_profile
Installing JSign Tool
Step 1: Install the latest version of JSign Tool (JAR package) using this link.
Step 2: Check whether JSign has been properly installed or not
java -jar <Path of JSign Jar Package>
Signing
Step 1: Change the working directory of the terminal to the folder that contains your “ec_pkcs11client.ini” and “pkcs11properties.cfg” files.
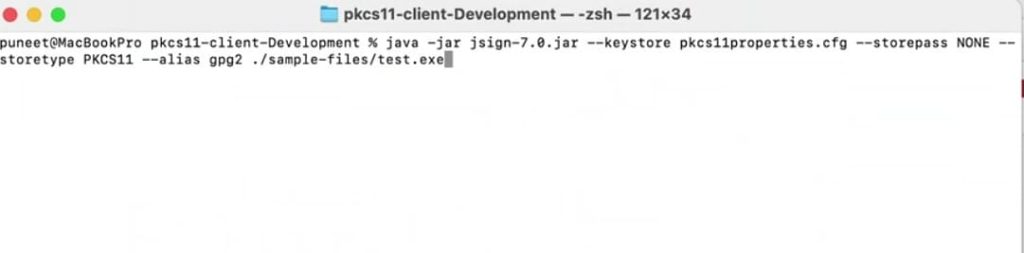
Step 2: Run the signing command from this directory.
java -jar <Path of JSign jar file> --keystore <Path of pkcs11properties.cfg> --storepass NONE --storetype PKCS11 --alias <Key alias of the signing certificate> <Path of file to be signed>
A sample command is provided below:
java -jar jsign-7.0.jar --keystore pkcs11properties.cfg --storepass NONE --storetype PKCS11 --alias gpg2 build_project.ps1
Conclusion
Encryption Consulting’s PKCS Wrapper simplifies the code signing process with JSign on Linux, Windows, and macOS. This integration simplifies a complex task, making it more manageable and less prone to errors.
If you want a smooth and reliable signing experience that scales with your needs, consider exploring our code-signing product, CodeSign Secure. This solution will enhance your organization’s security by enforcing best practices and offering detailed audit trails. CodeSign Secure is a comprehensive tool designed to elevate your code-signing workflow to the next level.